


The Perfect 10 Minute Warm Up
May 25, 2023
Reduce Injury Risk and Improve Performance With a 10 Minute Routine
By Dr. Justin Farnsworth, PPSC
Finding time to exercise (much less warm up first) can be a chore and a stressful one for some. The spectrum of preparing the body for exercise is all over the map – some people like walking on a treadmill, some foam roll and stretch, and some others don’t warm up at all! While none of those are inherently bad choices since you’re at least getting to the gym, there is a science-backed method of warming up that will not only serve to boost your gym performance but will also help manage chronic aches and pains.
I get it – we are all not exercise scientists with fancy degrees, and for some people, the same warm-up routine has “worked” for decades and decades. However, you don’t need to be an exercise expert in order to maximize your results and time in the gym. And, you should set your sights higher than “just doing something” when it comes to enhancing performance and preventing injuries.
There’s a right way to optimally prepare to train that will streamline your results while helping you bulletproof your body, and there’s the wrong way that will leave you bored, fatigued, or burned out before your workout even starts.
Start your next workout with a highly effective and efficient six-phase warm-up system. I know six phases seems like a lot, but you’ll be done in 10-12 minutes and ready to do your best work in the gym.
My challenge to you? Never waste another warm-up again utilizing this simple, efficient, and downright effective system.

Phase 1: Targeted Soft Tissue Work
Not all foam rolling is equally effective, so if you are looking for results while mitigating injury risk, chose the correct soft tissue technique for the goal at hand.
Focusing on problematic tight areas (otherwise known as “trigger points”) is the most effective foam rolling method I have used with clients and patients across the spectrum to open up their movement potential and transfer it into an exercise session.
Instead of just rolling across an entire muscle group back and forth you will want to hunt until you discover a tight band area. This can include the area just behind your armpit (the lats), chest (the pecs), quads (thigh), or another muscle that simply feels tight (like the quads/hip flexors) You will know when you find it!
Fight the urge to roll your entire body, and just focus on one area. Invest one to two minutes total between both sides moving one to two inches on two to three portions of that tight area. Spend one minute on the left, then one minute on the right, and then move on.
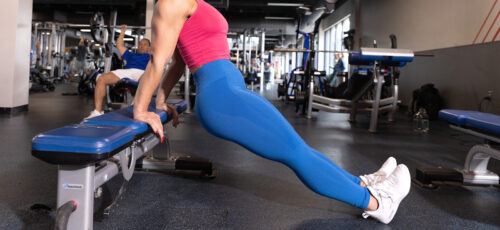
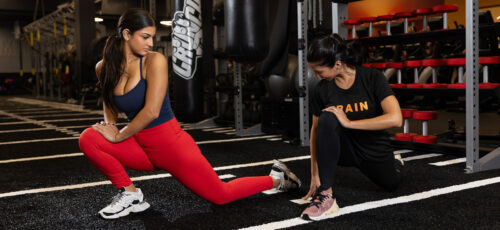
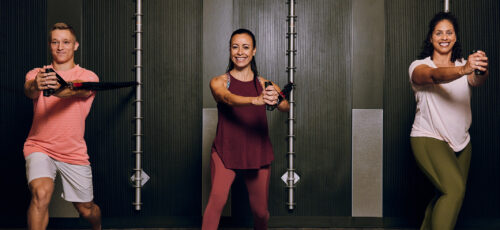
Phase 2: Bi-Phasic Positional Stretching
Our goal here is to put your body in stable, strong positions (1/2 kneel as an example) and generate internal tension (squeeze all your muscles) to wire stability through multiple joints. Once you feel strong and stable in the position, we are going to add small oscillations, which are micro-movements in and out of the stretch sensation, of the targeted muscle.
The bi-phasic part of this method just means that you will up 30-45 seconds of moving in and out of the stretch with 15 seconds of holding at the end range while still maintaining muscular tension throughout the body.
The total time invested should be two to three minutes.
The whole purpose of phases 1 and 2 is to tap into the power of the parasympathetic nervous system – rest, digest, and recover – and allow the human body to function as authentically as possible.
This means that you should be working with the same tissues in Phase 1 and Phase 2 for the best results. For example, if you foam roll the thigh muscle, you should then stretch that same muscle.

Phase 3: Corrective Exercise
The idea of corrective exercise is not a be-all-end-all approach but rather an option to help make YOU a better mover in preparation for your exercise session.
This does not need to be complicated! When in doubt, go for a single catch-all corrective exercise that touches on the hips, core, spine, and shoulders. Dr. Stu McGills bird dog is a solid choice that far too many people think is too easy for them.
If you, like many people, are at a loss trying to figure out if this stuff is actually working, I recommend just focusing on the three S’s of sound movement: stability, sequencing, and smoothness. Simply put, quality movement patterns or corrective movements should look and feel effortless, smooth, and coordinated.
If yours aren’t quite there yet, no worries. That’s why it’s worth investing one to two minutes into this phase 3 block every training day. It’ll help you to reap the benefits of the warm-up and help you maintain a functional and pain-free body.
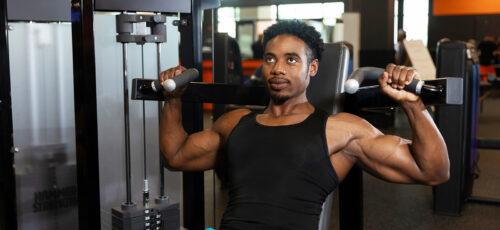
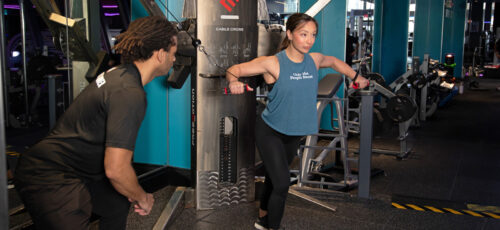
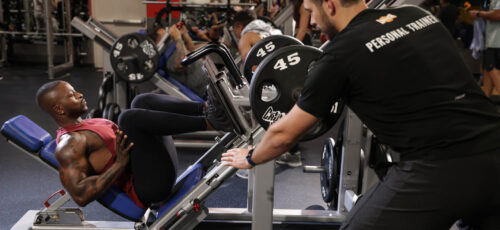
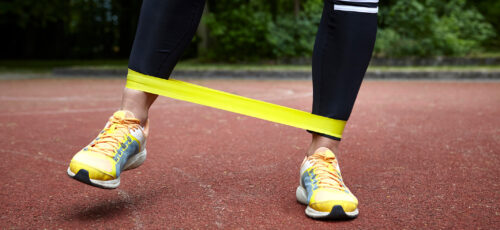
Phase 4: Muscle and Pattern Activation
The goal of everything you’ve done so far is to open up a movement pattern or region into new ranges of motion. But any improvements in range of motion are useless — and potentially dangerous — without being able to stabilize that new range of motion. That’s where muscle and pattern activation comes into play.
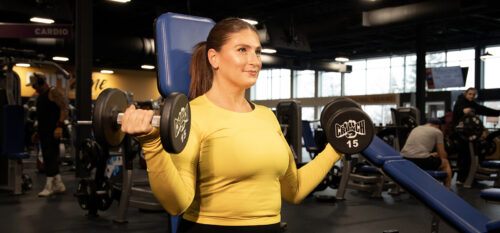
Activation drills that actually produce results need to involve a high degree of mind-muscle connection (feel the burn!) and even higher amounts of internal tension and force generation. In order to optimally “activate” a muscle, you need to be able to feel the muscle contract and then be able to carry over that feeling to a compound, multi-joint movement.
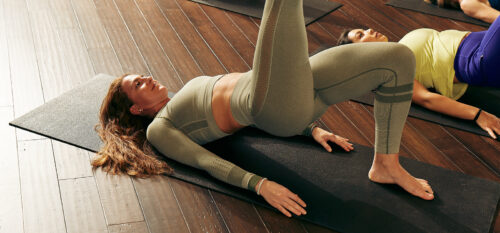
Again, this doesn’t need to be complicated. I like the Rusin Shoulder Superset for the upper body and the glute bridge for the lower body.
No matter what movement you choose, think about squeezing the active muscles as hard as possible, hardwiring the connections of muscles moving, and stabilizing into a new range.
A common problem with this phase is people annihilate muscles rather than activating them. This leads to fatigue and a drop in your performance during the workout. Limit yourself to two to three sets of five to 10 reps of each movement, with 15-30 seconds between sets. This works out to one to two minutes of investment into priming your powerhouse muscles in better, more usable ranges of motion.
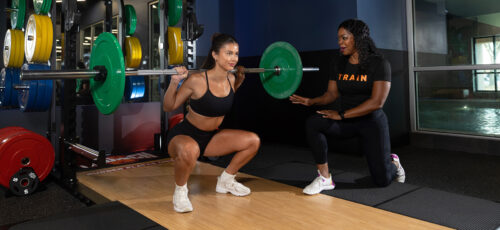
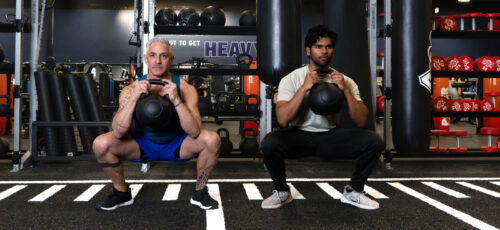
Phase 5: Foundational Movement Pattern Development
The first four phases of this sequence are all precursors to this, the big movement patterns you’ll be practicing in the fifth phase of this system. Everything you’ve done was important to get you to this point, but now is when your mind and muscle take over and get primed for performance.
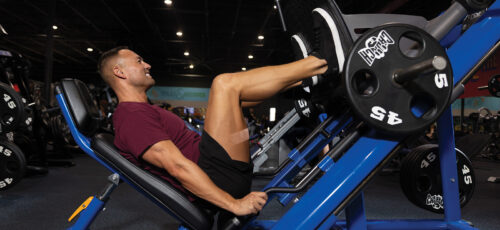
Simply choose the pattern you’ll be training as your big movement of the day. If it’s squat day, then use the bodyweight squat. Bench press day? Hit the push-up. Simple, easy, effective.
Why not just load up and go? Because you can’t perfect your movement patterns during hard and heavy training. They need to be two separate entities.
That’s why we use two to three sets of three to five slow, controlled, and deliberate bodyweight reps to grease the groove of the foundational movement pattern. The focus is not generating a training effect, but rather preparation.
This is definitely not wasted time! If you spend two to three minutes here, that time will pay off throughout the workout to come.
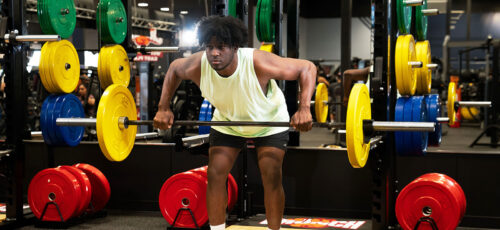
Phase 6: Central Nervous System Potentiation
You’re almost ready. After spending some thoughtful practice on your foundational movement pattern of the day, it’s time to cut the fluff and focus on being an explosive and powerful athlete with some central nervous system (CNS) stimulation.
There are only a few tried-and-true ways to excite the CNS to optimize power and strength, but for a warm-up, our focus is going to be on twitch, high-velocity movements.
Here are some options:
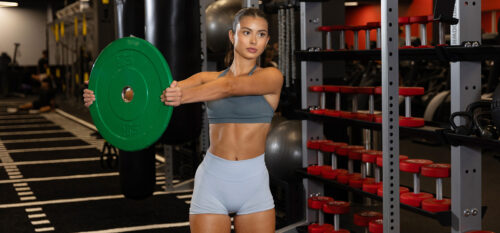
Similar to the foundational movement pattern prescription from the previous phase, look to match the type of CNS work with the big movement of the day. For squat-based movement days, pick a vertical jump for this phase. For a deadlift day, a broad jump or bound fits well. Is it a bench press or back day? Medicine ball presses or slams are ideal.
For CNS priming, it’s crucial to dial back the total volume of work to avoid pre-fatigue of the CNS and peaking too soon before you get to use what you’ve worked so hard for! Stick to two to three sets of two to five reps of any of these methods, and no more than 15 total reps.
Get In, WARM UP, and Get to Training!
And then what? Go lift — and be surprised at how much better and stronger your training session feels!
Let’s put it all together with this six-phase warm-up example for a full-body workout.
Dr. Justin Farnsworth, PT, SCS, CSCS, PPSC, ART, SFMA, CAFS, FDN is a Doctor of Physical Therapy, Board Certified Sports Clinical Specialist, Pain-Free Performance Specialist- Director of Rehab, and Certified Strength and Conditioning Specialist.
Crunch promotes a culture of positivity, inclusivity, and fun with no judgments by providing an environment for all individuals regardless of their health and fitness goals. Find a Crunch gym near you to try our free trial membership, or join Crunch now. We’re here for you – at the gym or at home. Access the best live & on-demand workouts anytime, anywhere with Crunch+. Ready to get sweaty? Try hundreds of workouts for free! Start your free trial now!